Multi-tenant real-time APIs with Clerk and Tinybird
Learn how to build a multi-tenant real-time API with Clerk and Tinybird.
You can view the live demo or browse the GitHub repo (clerk-tinybird).
Prerequisites
This guide assumes that you have a Tinybird account, and you are familiar with creating a Tinybird workspace and pushing resources to it.
You need a working familiarity with Clerk and Next.js.
JWT Template
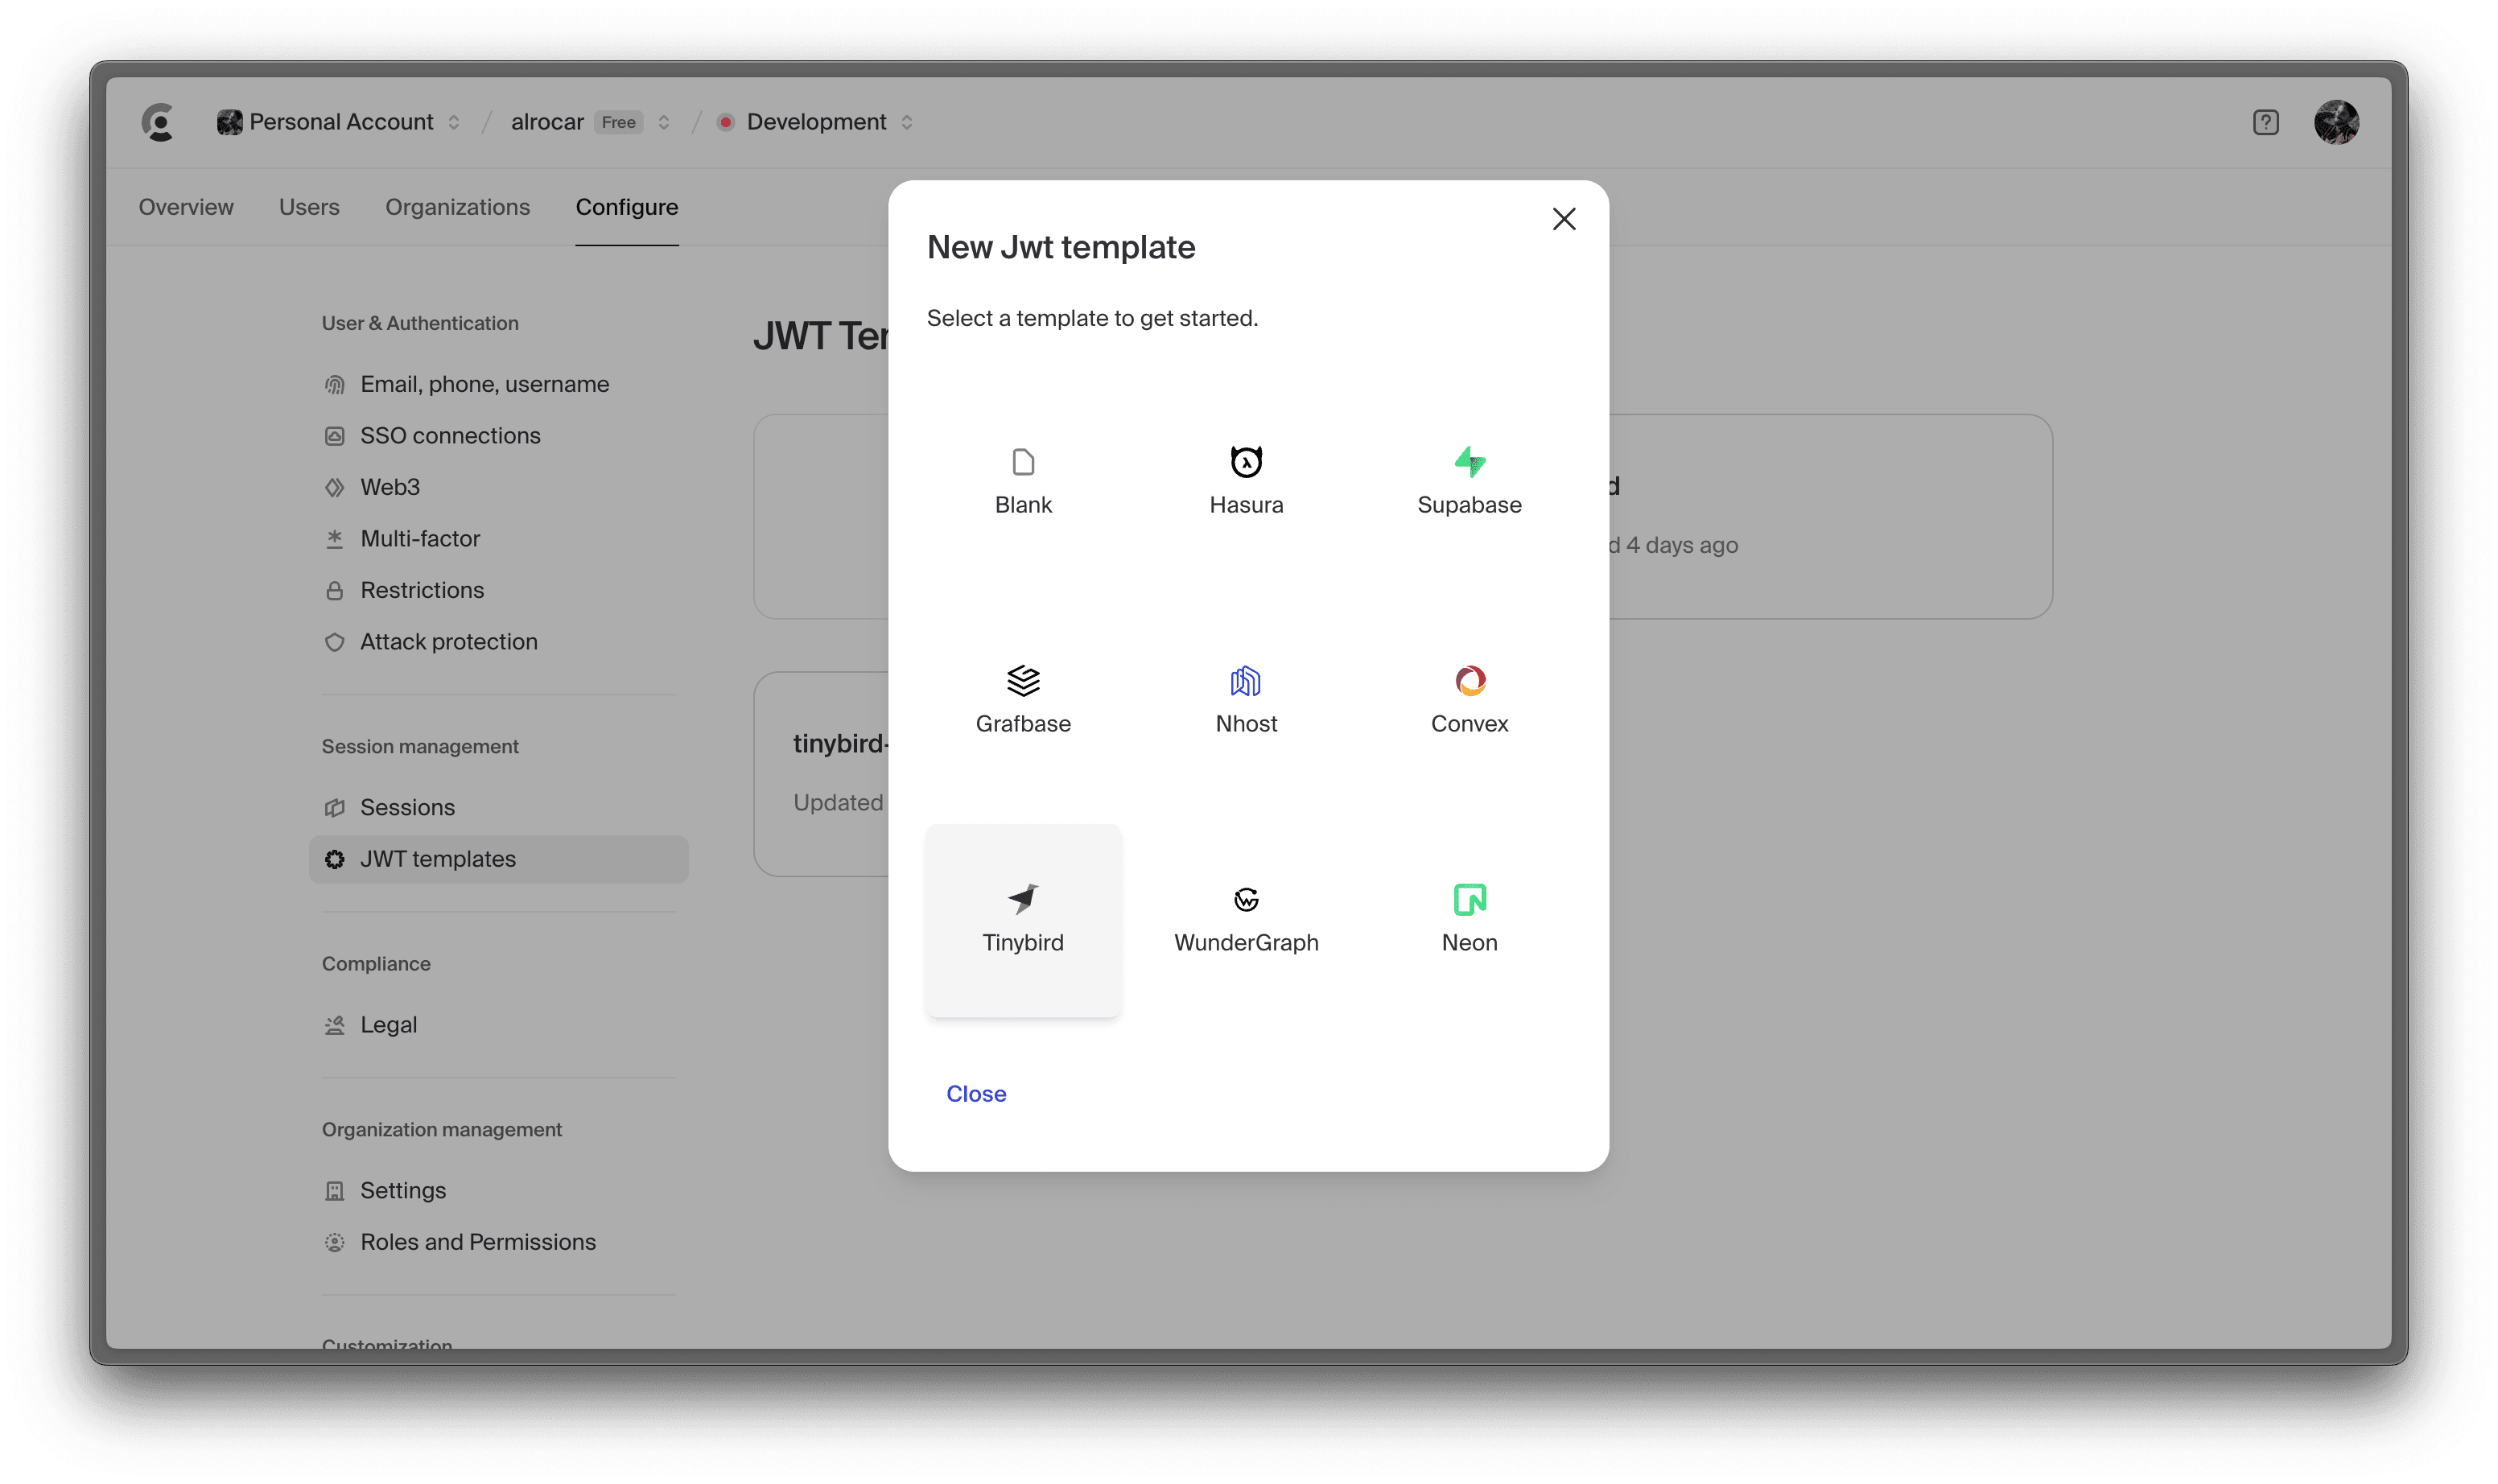
Create a JWT template in Clerk, and use the generated JWT to access Tinybird pipe endpoints.
In Clerk go to Configure > JWT Templates and choose Tinybird.
Modify the Tinybird JWT template with these claims:
{
	"name": "frontend_jwt",
	"limits": {
		"rps": 10
	},
	"scopes": [
		{
			"type": "PIPES:READ",
			"resource": "<YOUR-TINYBIRD-PIPE-NAME>",
			"fixed_params": {
				"org": "{{org.slug}}",
				"user": "{{user.id}}"
			}
		}
	],
	"workspace_id": "<YOUR-TINYBIRD-WORKSPACE-ID>"
}
- Use your Tinybird admin token as signking key.
- Add as many scopes as needed, use fixed params to filter your Tinybird API endpoints.
- Configure
fixed_paramsto match the parameter names and values in your Tinybird API endpoints.
On your application request a token to Clerk using the tinybird template, where tinybird is the name you gave to the template.
  const authentication = await auth()
  const { userId, sessionId, getToken } = authentication
  const token = await getToken({ template: "tinybird" })

  fetch('https://api.tinybird.co/v0/pipes/your_pipe.json', {
  headers: {
    Authorization: `Bearer ${token}`
  }
})
Use this demo project to for a fully working example.